Monday, December 7, 2015

Back From Thanksgiving Vacation

Dateline – 12/05/2015  I took two weeks off from working on the car to go to California to see family for Thanksgiving.  It was nice to have a long break from work and projects to just relax and enjoy the company of my family.

This weekend I continued work on the engine bay.  I did a lot of odds and ends work since there are just a lot of odds and ends in the engine bay.  Things I got accomplished were:
  • Installed the vacuum accessory tank in the left fender
  • Installed the chassis number plate on the left wheel well
  • Installed the cruise control actuator on the left wheel well
  • Cleaned both through-firewall electrical posts.  These bring positive voltage into the cabin of the car to the fuse block
  • Installed voltage lead that runs between the electrical posts
  • Installed the hood latches including the cable activation system
  • Installed Radiator overflow tank on left wheel well

I was going to install the brake pedal housing and booster but realized that I really want to paint the booster.  I thought it looked good enough after a solid cleaning, but after putting it in the car, I realized it really needs to be painted.  Since the booster and pedal housing need to go in at the same time, needed to wait to put it in until next weekend.

I have also purchased some VHT Red Anodized Color High temp paint (http://www.brandsport.com/vhtp-sp450.html)  I’m going to paint the intake manifold with this to see if I like the results.   I did some research over the holidays and found some pictures of engines that guys have done this too and it looks pretty sharp.   I like the idea of adding some color to the engine since everything right now is polished aluminum, chrome or black paint.  This may be a cheaper way to dress up the engine without needing to buy a polished intake.  If it looks good, I may do the same thing to the Mickey Thompson valve covers.  And if I don’t like it, I can always put it through the sandblaster and get it back to bare metal.  I  LOVE MY SANDBLASTER!

I’m also putting in an order with Summit Racing for a new fuel pump, Russel billet aluminum inline fuel filter, Continental Red Rubber radiator hoses, fuel hose, Spectra Performance Magna-Clamp Hose Clamps and a new battery tray.  I think that is going to give me all the odds and ends I need finish up the engine bay short of the exhaust manifolds.  I still haven’t decided if I want to have these ceramic coated or sand blast then and use high temp paint.  I don’t need to decide right away, but I probably need to get then done soon.

Monday, November 16, 2015

More Engine Bay Work

Dateline - 11/14/2015 -  Spend another Saturday working on the engine bay.  I got the power steering pump pulley cover during the week and put that on.

Next I installed the blower motors/fans.  This took a lot longer than I expected because I had rebuilt and painted the fans over the summer and tested them when I put them back together, but didn't test them with the squirrel cages on them.  Both of them squealed really badly.  Seems that I didn't lubricate the shafts well enough.  So I had to take them apart again, which required unsoldering the leads and brushes from the the windings and and remove a fiberglass board that holds it all together. So what should have been an hour job turned into three, but the fans are in.

Both blower motors/fans installed
Next I put in the windshield wiper motor and apparatus.  I know this was going to be a pain, and it was!  The worst part is that I spend about 1/2 hour looking for the darned bracket that holds the motor to the car.  Couldn't find it anywhere.  Looked in all my boxes in the garages, etc., but no joy.  Then as I was just about ready to call it quits, I remembered it was in the room with all the painted parts!  D'oh!
Windshield wiper motor installed
Windshield wiper shafts and mechanism
Finally, I put a few odds and ends on.  The battery cutout solenoid, the heater water control valve and the automatic transmission filler/dipstick.

Clockwise from upper left: Battery cutoff solenoid, transmission dipstick, heater water control valve  
I had to call it an early day because I was meeting some friends and going to a show.  I will not be working on the car again until December do to other events going on, so my next most will be in a few weeks.


Sunday, November 8, 2015

Engine Dress Up

Dateline - 11/08/2015 - This weekend was focused on engine dress up.  I bought a March Performance billet aluminum Pulley Kit that replaced all the original steel V-Belt pulleys with billet aluminum pulleys, plus new brackets.  I also bought a polish aluminum water pump and a chromed power steering pump.  I spent most of the day doing the installation.

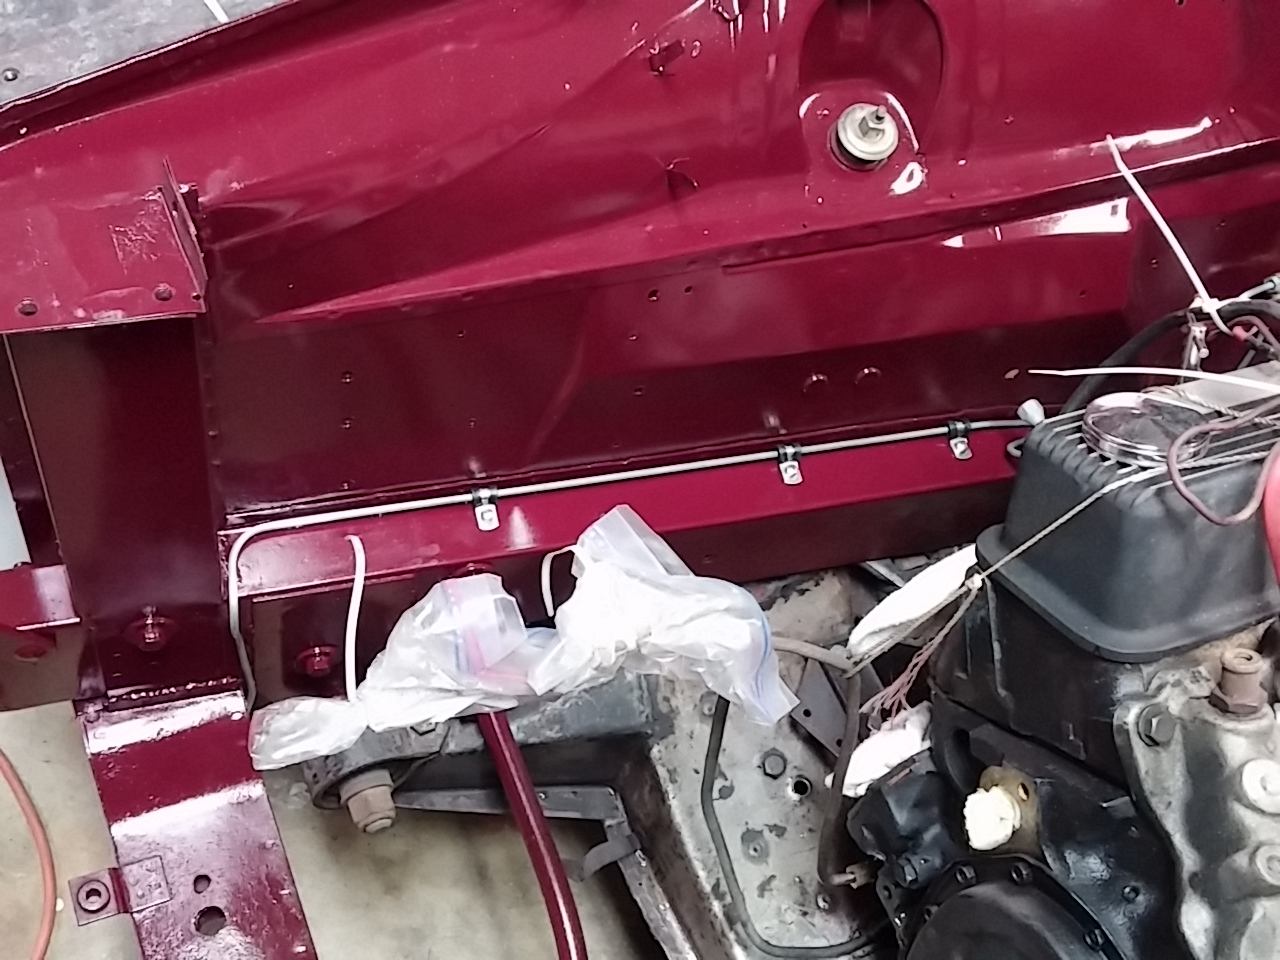
But first, I needed to finish putting in the brake hard lines.  I used marine grade Adel clamps to fasten the tubes down.  Then I cleaned and painted the suspension cross member that runs under the engine.

Brake hard lines running along firewall

Right side brake hard lines

Left side brake hard lines
Suspension cross member prep for painting
Once that was done I started putting the pulley kit on.  I started by installing the power steering pump onto the water pump while it was off the engine.  Then I installed the two pumps on the engine and put on the crank pulley and the power steering pulley and realized I didn't get the pump aligned correctly.  I ended up putting it on and taking it off five times before I got the spacing correct.  It was a pain, but it needed to be correct.

Parts for pulley kit on workbench

Water pump and power steering pump installed on engine (Note painted cross member and sway bar)

Crank pulley, power steering pulley and belt installed
Next was installing the alternator.  I had to removed the original pulley and fan from the new alternator (I had bought it when I got the car in 2009) and install the aluminum fan and pulley.  Then I installed the bottom bracket, the alternator and the upper adjustment turnbuckle. Finally I had to put the water pump pulley on and adjust everything.   It was pretty fast and straightforward.  The one thing I don't like is that the power steering pump pulley doesn't have a cover.  March sells one as an extra and it really needs it. So I purchased the and should have it next week.  Why they don't include it in the kit, I've no idea!

Alternator, water pump pulley and belt installed

View of engine from left

View of engine from right
I'm still up in the air about buying a new intake manifold.  Dropping $375 for something that works fine now is hard for me to justify.  So I thought why not sandblast the one I have and see how it looks.  So I pulled it off the engine and cleaned it up.  I think it is going to work fine.  I am wondering if I should put some high temp clear coat on it to keep it from staining.

Manifold before sandblasting (lines in the middle are an artifact from the camera)

Manifold after cleaning.
 Oh, and this is what fall looks like in my front and back yard!

The waterfall in my front yard

View out my bedroom window

Nice time of year!

Saturday, October 31, 2015

The Jag Is Home!

Dateline 10/31/2015 - The Jaguar has come home.  The tow truck from Precision Tow showed up at Showcase Auto at 9:00 AM on the dot this morning and by 10:00 it was at home in the garage.  Of course, today was one of the wettest we have had in awhile, with serious wind and rain, but it's fall in the Pacific Northwest!  You can't let a little water stop you!  Here are pictures of the car coming home:

Loading car at Paint

Car arriving at house

Getting read to unload
Unloading

Landed in the garage


From the back

Front 3/4 view

Back 3/4 view

Clockwise from top left: Dash vinyl, paint test card, test panel (much lighter than the car really turned out)
 
The bonnet, boot lid, front wings, gas tank covers and doors are still at the point shop.  They will have them for a couple more months while I finish up the inside of the car.  I'm in no hurry to get them back since I'd have to store them someplace.

So now the fun begins! 

After getting the car settled, I spent some time drying it out and removing tape that was left on the car.  I needed to decide which part of the car I wanted to work on first, and decided it will be the engine bay.  I removed the exhaust manifolds to have them ceramic plated.
Exhaust manifolds


I also started putting the brake tubing back in.  It all needed to be cleaned and sandblasted.  I also need to get a bunch of Adel clamps to hold everything down, so things are just hanging right now.

Tubing from master cylinder (upper right) to the front and rear brake connection (lower left)

Left Front brake tube the runs under front body frame

I also pulled out the gas feed hose because it was almost crushed closed! 

Crushed fuel line from engine bay.  Don't know how this car got any gas!
It's going to be so nice put parts back on the car again, AND LEAVE THEM THERE!


Tuesday, October 27, 2015

The Jag is coming home!

Dateline 10/27/2015 - The day has been set!  Saturday 10/31/2015 - Halloween!  The Jag is going to return back from paint!  What an appropriate day to have my red car come home!

Yes, I'm excited!  Last weekend I spent about three hours cleaning the garage so that I'd have a place to put the car!  A summer of parts cleaning, sand blasting and painting, as well as a few home repair projects, had filled up the area the car was in with misclianious stuff.  Plus my workbench had gone out of control.  So, in prep I got everything clean, moved and floor swept, ready for the car to come in.

During the summer I filled up a spare bedroom full of parts that I cleaned and painted.  Everything isn't done, but I really did knock out a great many items, which will make assembly much faster!  Will I be done in a weekend?  NO WAY!  But, with luck, I think I can have it running and on the road by this spring!  That's really cool!

Stay tuned for another update next week with picture of the car coming home!

Monday, July 6, 2015

Mid Year Check-in

Dateline - 07/06/2015 - It's been a long time since I last checked in.  Car is still in paint!  I've been sandblasting and painting every weekend.  That's something I have a hard time doing for more the three or four hours.  It gets old having your hands stuck in the stand blasting cabinet!  But I am making a big dent in the pieces.  I was just amazed at just how many parts there are when I start pulling out the milk crates and boxes.  It's really cool though that I'm building up a room full of cleaned and painted parts.  It will make assembly all that much easier.

I just ordered a zinc/tin electro plating system from Eastwood (http://www.eastwood.com/eastwood-s-tin-zinc-electroplating-system.html).  I've got several parts that really need to be plated instead of painted, so I'm going to give this a try and see how well it works.  Something I haven't done before!

I also found that if you soak parts in undiluted Simple-Green, you can take the zinc plating off of parts that had been plated!  Go figure!

I've also been working on the wood dash.  I shellaced it and when I went to fill in the wood grain, I realized I had not sanded the surface well enough.  Had lots of grooves left over from the flat bed sanding that was originally done to rough out panels.  I hand sanded it and thought I was done, but nope!  So I took out the power hand sander and went at it again.  The nice thing was that the shellac showed all the low spots so I was able to sand it really smooth.  I shellaced it again and started putting coats of lacquer on.  I'm up to 15 coats, but it has been so hot here, even the the mornings, that the lacquer thinner is evaporating too quickly.  I have to wait until it gets a little cooler before I put any more coats on.  Let me tell you, it looks fantastic!

On a whole different subject.  I went to the Northwest Historics vintage races (http://northwesthistorics.com/theguild/upcoming-events/) this weekend with some friends from work and friends of friends and got a chance to do three laps of the Pacific Raceways in the passenger seat of one of the driving instructors for the BMW/Porsche club.  Although we were not "at speed" it was still thrilling to get a chance to go around the track and Doug tried hard to find opportunities to build up a little speed and Gs!  It makes me want to get into "Track Day" events.  Ouch!  This can get expensive quick.  How many hobbies can I afford?  I guess I'll be working until I'm 105!  here are some pictures:


Monday, March 16, 2015

More Sandblasting

Dateline - 03/15/2015 - Did some more sandblasting this weekend.  I'm finding that I can do a 6" x 6" square of metal before the compressor kicks in.  I stop to let the compressor catch up otherwise it just continues to run and I don't want to burn up the compressor or motor.  So, while the compressor runs, I disassemble and prep parts for cleaning.  So, I have now cleaned:

- Radiator cross member
- Coolant header (adapter that goes into the top hose of the radiator to add water and has overflow)
- Boot lid hing springs
- Both interior cooling fan housings
- One interior headlight bucket
- One interior headlight bulb holder ring
- Vacuum reservoir
- Vacuum reservoir bracket

It's a bit slow going, but boy do the parts look nice and will be great when painted!  Much better then sanding by hand, let me tell you!